
How To Take Good Pictures In Bright Sunlight
1. Look For Shade Or Create Some
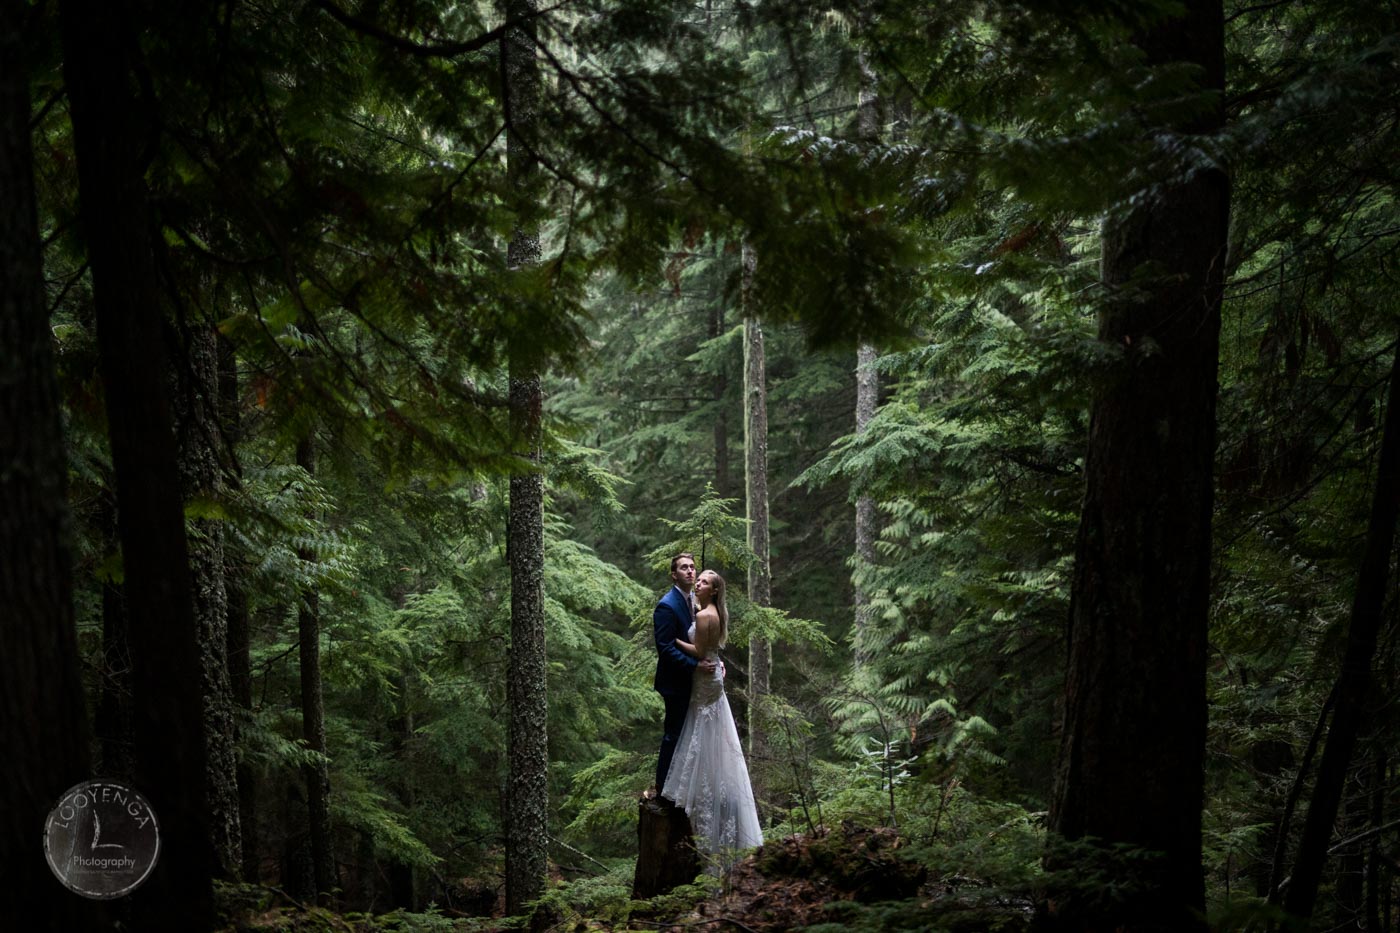
When the sun is too harsh, try looking for some shade. This might sound a little obvious, but trust us when we say that finding shade is one of the easiest ways to tackle harsh lighting when you are out photographing your couple. And you don’t even have to move your entire setup indoors. Instead, look for natural shade in your outdoor surroundings. Overgrown trees, tents, or gazebo canopy – anything that gives you cover from the harsh light works. Besides providing you with the desired lighting effect for your photos, a bit of shade will also make your couples more comfortable while posing as they’d be saved from the direct rays of the sunlight hitting their face.
However, chances are you might not always find shade. So the next best thing to do is to create some when needed. Use an umbrella, a piece of cardboard, or even place a fabric overhead – there are multiple ways to achieve this. If you are working with an assistant or a second shooter, you could also ask them to help you block or diffuse the light.
Suggested Read: Outdoor Wedding Photos Inspiration From ShootDotEdit Customers
2. Put The Sun At The Subject’s Back
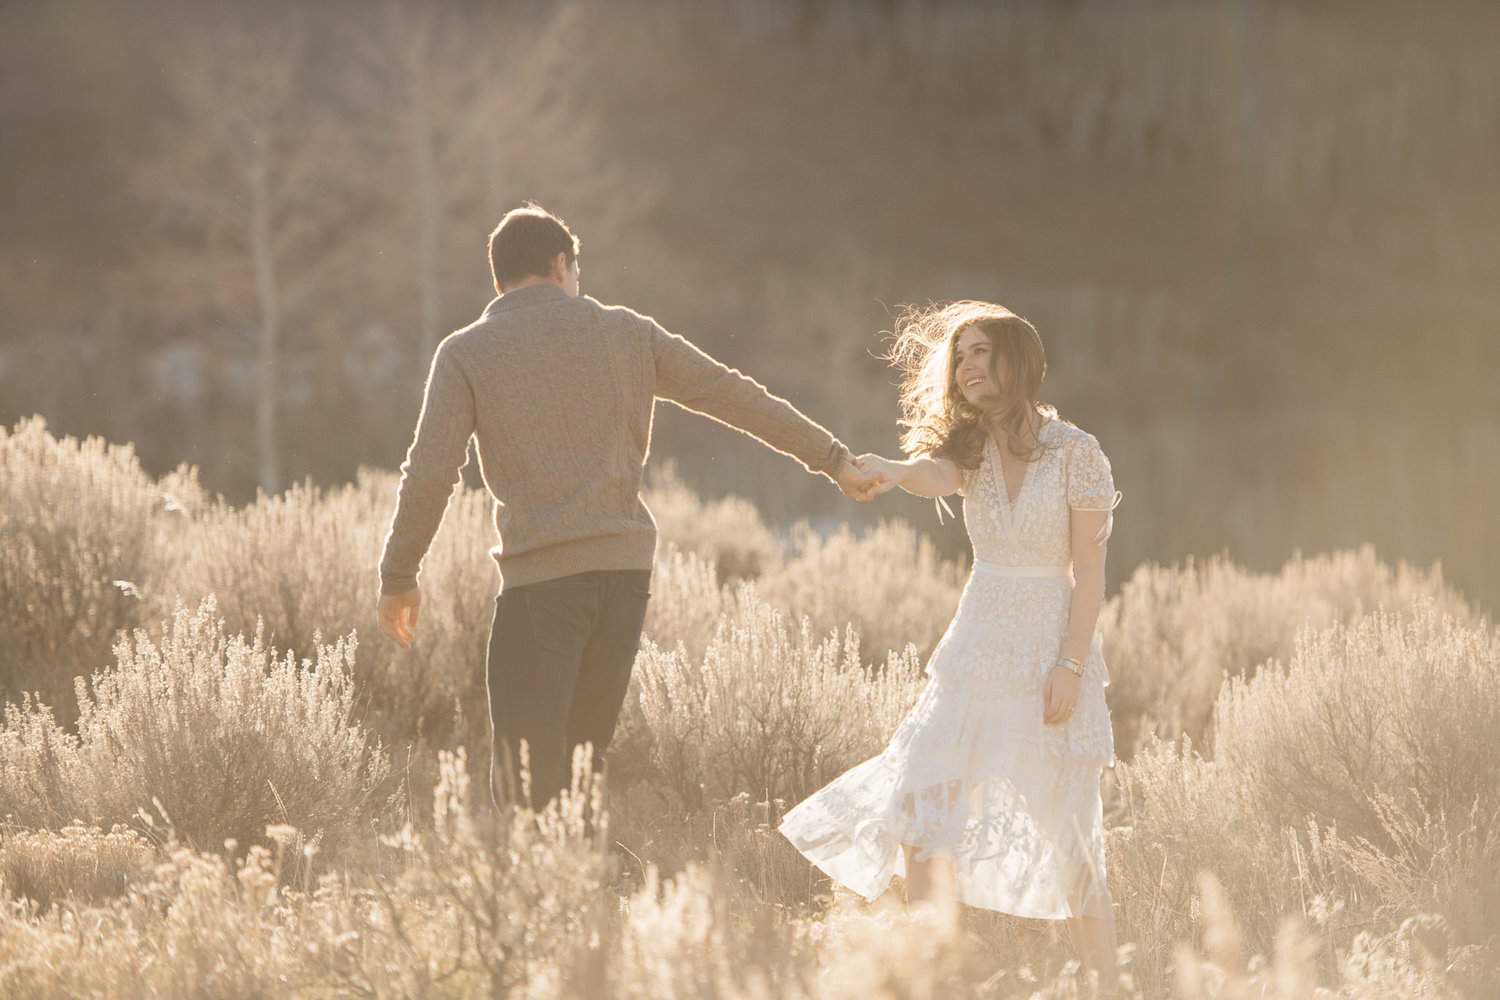
At noon, you won’t find any shadows, but if you are photographing your couple at any time before or after that, you can make use of the shadow that the sun creates. Figure out where the shadow is and face your model towards it. This way, your subject’s back is turned to the sun, and they are not facing the direct sunlight. Posing them this way would evenly light up your model’s face with diffused light, whereas the outline of the body and the head will receive slightly blown-out highlights.
Related Read: Shooting With Backlight: A Step-By-Step Photography Guide
3. Use Fill Flash
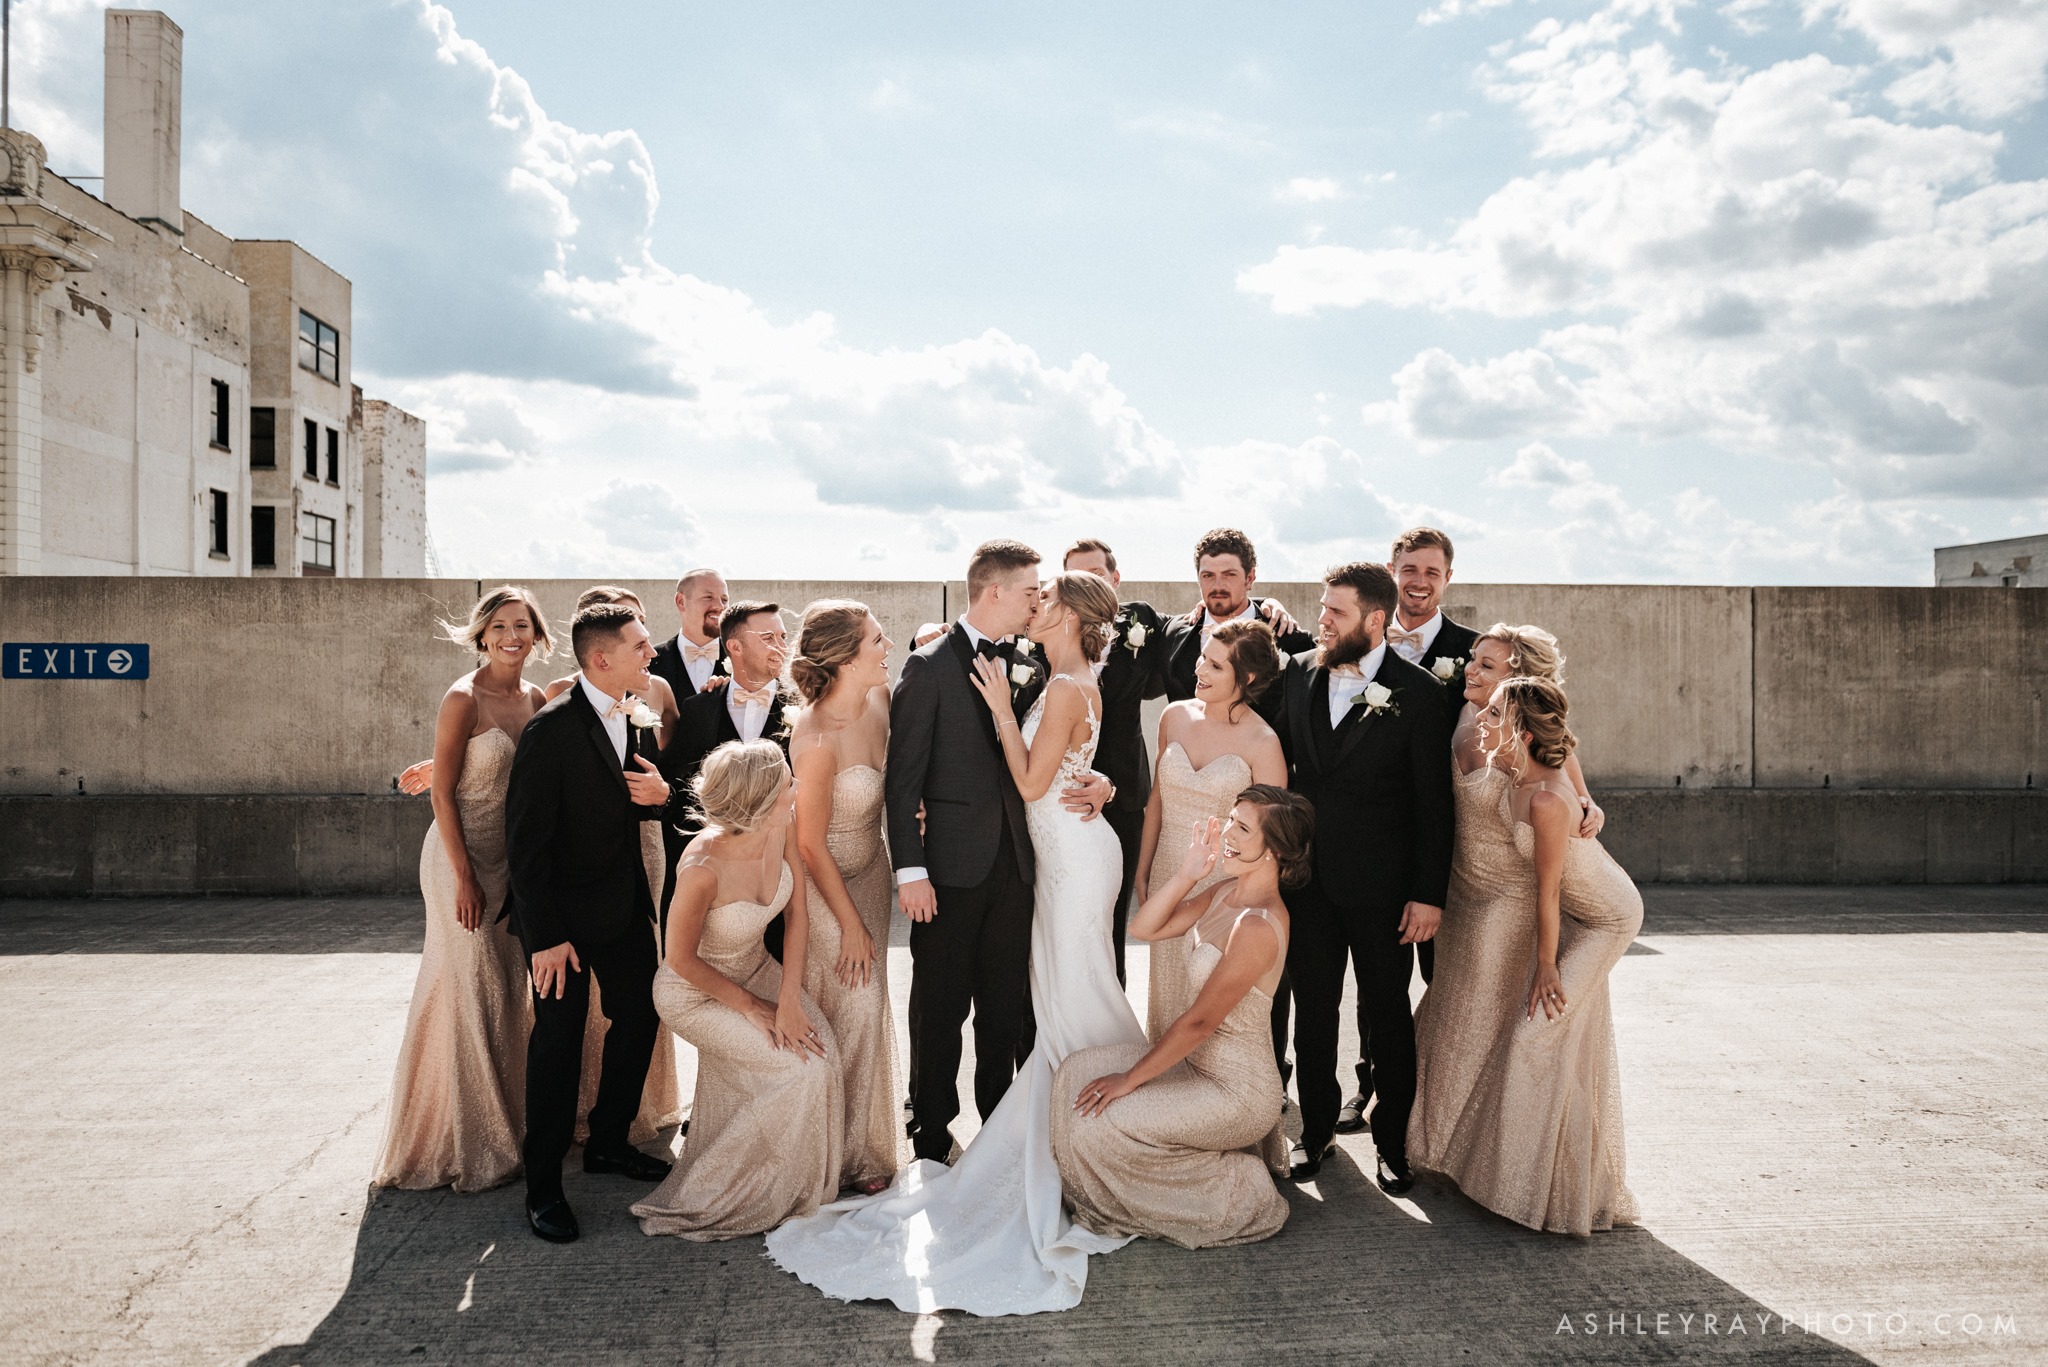
Wondering how to take good pictures in bright sunlight and avoid strong shadows under the eyes and chin while photographing? A fill flash can save the day! When you fire a fill flash at your couple, the light from the flash illuminates all the darker parts of their features, eliminating harsh shadows from under the eyes, chin, and side of the nose. However, remember to set your flash at a lower power if you don’t want to end up with a completely over-exposed scene. No one likes a washed-out image with barely any details!
4. Reflectors At Your Rescue
If you are looking for yet another way of filling those harsh shadows without using a flash, a reflector can do the magic! How? Simply by naturally reflecting the light either through professional reflectors or any other white or shiny object that reflects light. True that when your couple is posing against the sun and towards the shadows, there is no direct sunlight on their faces. However, you do need a softer light directed on their face to capture their facial details. To achieve the desired effect, just place the reflector towards their face and adjust to get the right lighting.
5. Use Spot Metering
Images that reflect that bride’s natural skin tone are just so beautiful! To capture the skin tone perfectly, set your camera for spot metering so that your subject’s skin is correctly exposed in the light along with the rest of the background. Spot metering works well in high-contrast situations such as a bright sunny day. To use it, just select the spot metering mode and press the shutter button halfway. The device will analyze the lighting of the targeted area and automatically adjust the exposure of that spot.
6. Get Creative With Silhouettes
A stunning picture taken in bright sunlight doesn’t always have to be perfectly lit and well-exposed. Think of an artistically framed romantic silhouette of your couple. Makes for a classic shot, doesn’t it? This is one style of wedding photography that opens the door to endless creative possibilities. To create a silhouette of your couple, all you have to do is position them against the direct sunlight, find an angle that works best, and shoot away!
Related Read: Silhouette Wedding Photography Inspiration From ShootDotEdit Customers
7. Use Filters
Even though filters cannot help you diffuse the harsh light altogether, they can help you enhance the scene in many different ways. The two types of filters that can be helpful when the lighting is harsh are the neutral density (ND) filter and the polarizing filter. An ND filter helps limit the amount of light that hits your camera sensor. The polarizing filter, on the other hand, helps you stay away from reflections and lens flares and even helps in enhancing colors.
8. Experiment With A Wide-Angle View
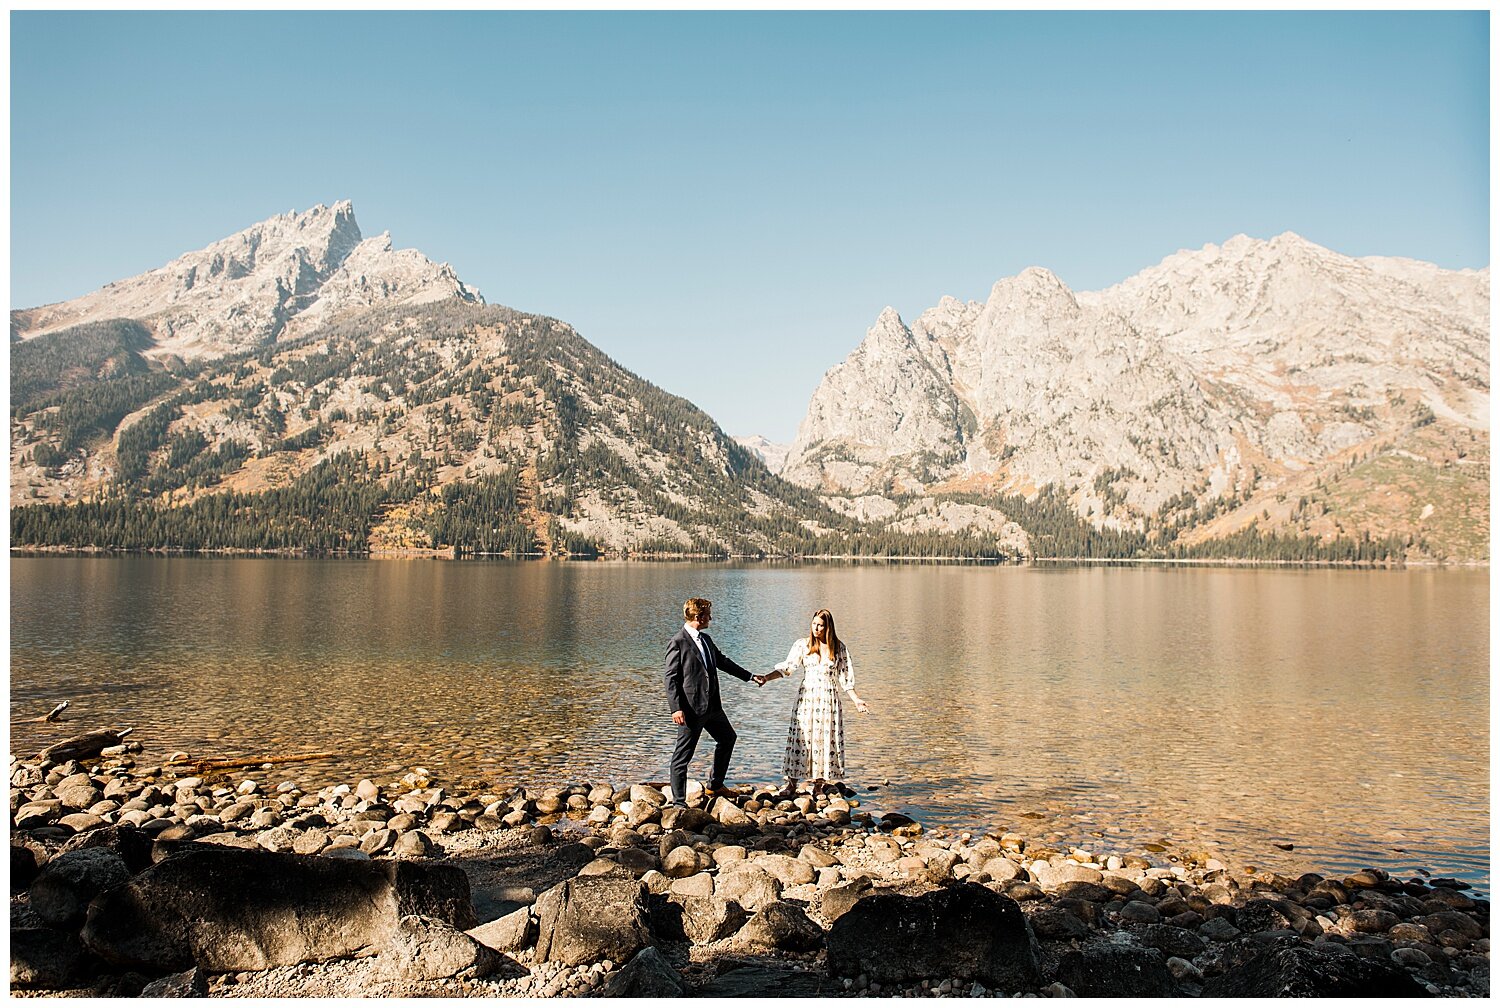
Don’t just limit yourself to close-up portraits. Instead, you could try exploring your scene using wide-angle lenses. At a wedding, there’s always so much to capture. Change your perspective and see what more could be included in your image from the setting around. Get creative and work with unique framing to bring the best out of your scene. Moreover, with a wide-angle view, you don’t have to bother much about harsh shadows forming over the bride and groom’s faces. Why? Because when you have more elements in your frame, your subjects appear relatively smaller.
Related Read: Wide-Angle Wedding Photo Inspiration From Shootdotedit Customers

Harsh lighting can put your photography skills to test. Not only does it create strong shadows that can be challenging to eliminate, but it can also be exhausting at the same time. But as a wedding photographer, you somehow have to learn to work your way around the scorching, midday sun. While we have listed out a host of ways – from using shade, fill flash, and reflectors to using spot metering – to help you take stunning wedding photos even when the sun is too harsh, remember that in such situations it is always better to shoot manual. Don’t leave it to the camera to adjust the aperture, exposure, and shutter speed. Your gear doesn’t know how you want your image to appear. So take the reins in your own hands and keep creating those gorgeous images!
Further Read: Best Wedding Cameras: A Comparative Analysis
At ShootDotEdit, we are passionate about sharing tips on different wedding photography techniques to help you perfect your art. We also offer photo editing services to lessen your post-production workload. Take a look at our professional photo editing services to learn more about how we can help you do that.


I’ve always liked this type of lighting blog and facing lighting problems. Your explanation is right.
Well, this is an awesome post and written very well. Your point of view is very good.
Leave a comment