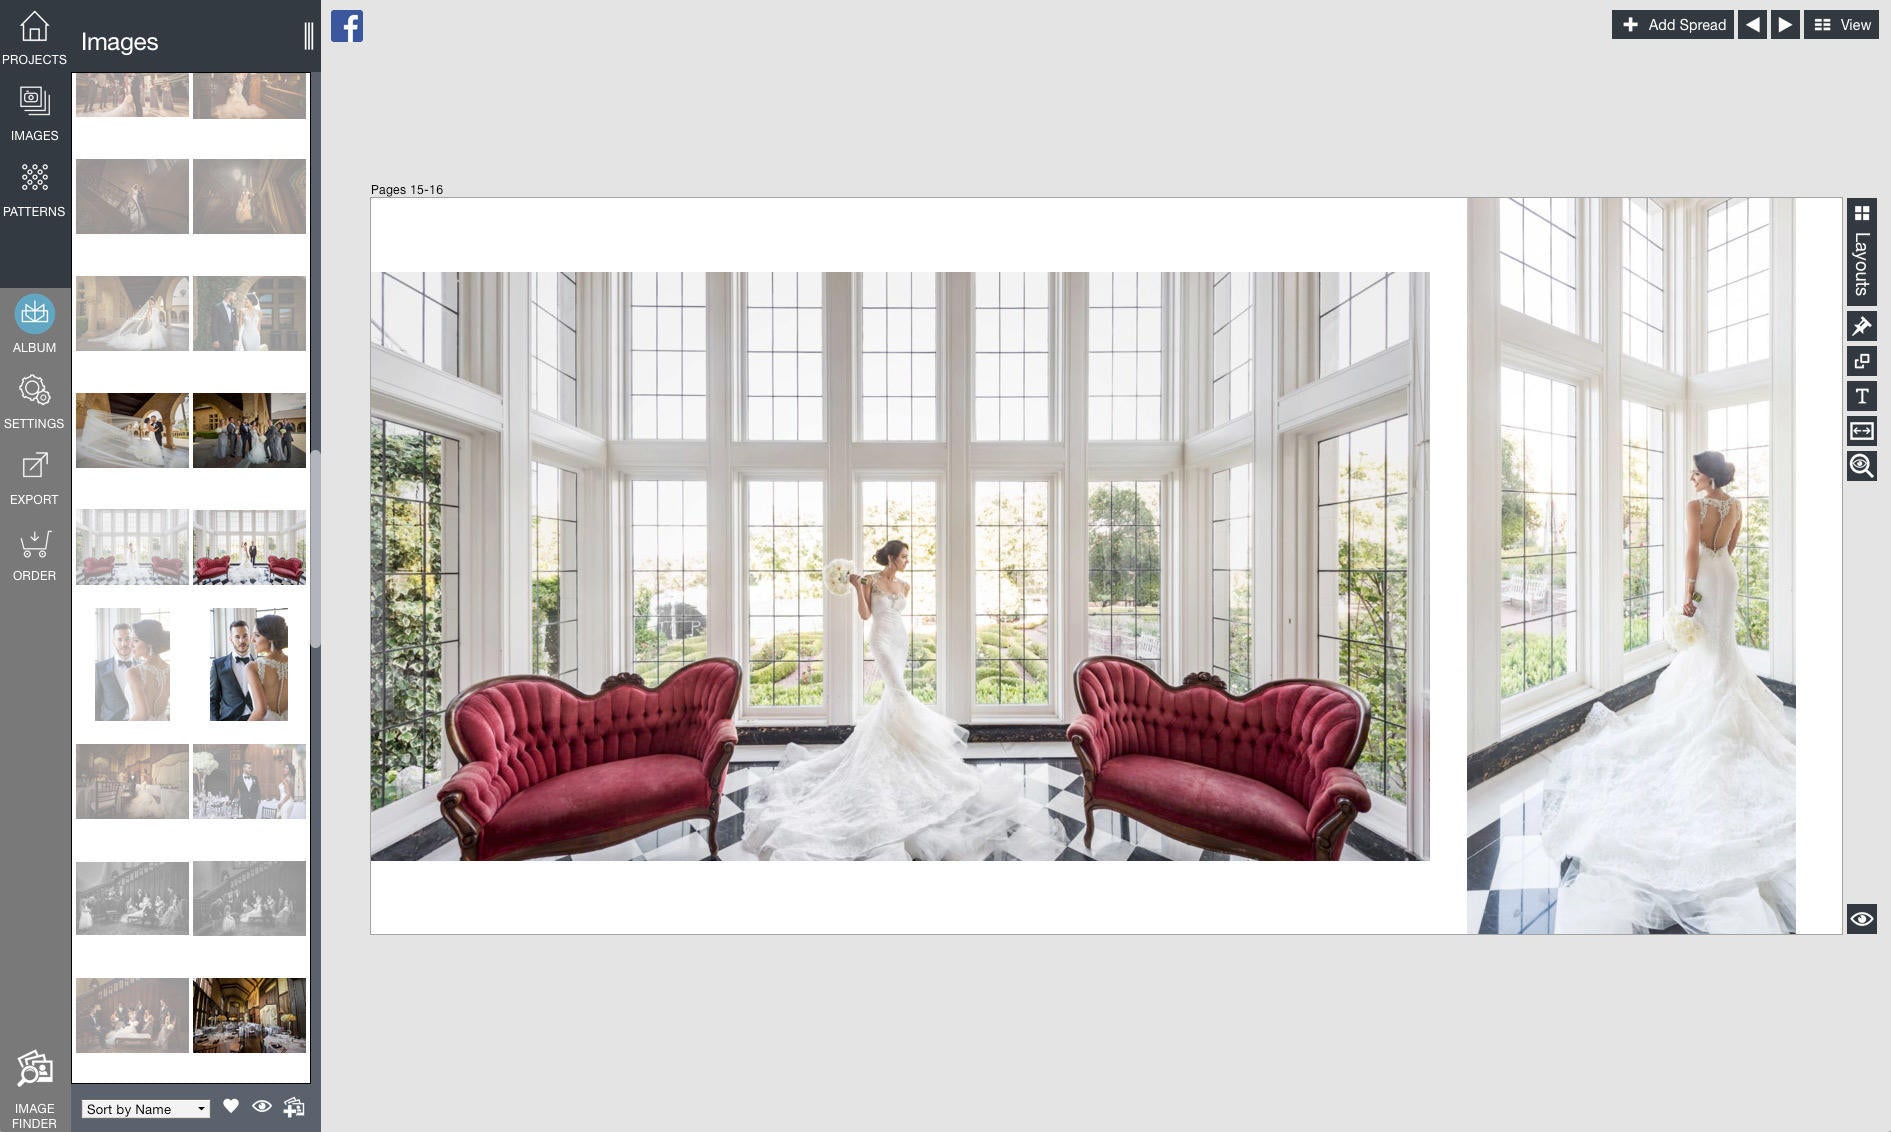
During the wedding day shoot, are you taking the steps to tell a story through pictures to later use in your client’s wedding album? Creating albums for clients after you receive your images back from a company that specializes in wedding photography edit services gives them timeless memories from their day, and album sales help you increase your overall profit.
Telling a Story Through Pictures
Andrew Funderburg, founder of Fundy Software, is a photographer who knows exactly how to shoot for the album design during the wedding day. So you can start identifying the best moments to capture, Andrew shares how you can strategically capture pictures that tell a story during the wedding day.

———————————————————————————
At Fundy, we believe in the power of the printed product, especially for wedding photographers. Beyond delivering an incredible customer service experience, it is the most important—and lasting—thing you can give to your client when the event is over.
So how do you make consistently beautiful albums every time? Well, you should be thinking of printing long before you sit down to edit. During a wedding, album design should be forefront on your mind in order to capture the correct images and ultimately cut your workflow in half. It is crucial to shoot with intent to create a printed product filled with photos that tell a story.
Focus on Storytelling
Weddings, fortunately, follow a more-or-less inherent flow to the day and that relates directly to the album design. This is perfect for storytelling photography to incorporate into your wedding albums.
Every story has a beginning, middle, and end, and we can talk about this in terms of weddings, too. In the beginning, we want to set the scene and introduce the characters; in the middle, we want to develop the story of the characters; and then at the end, we want to find a way to conclude the album and the day.
Every time you enter a new part of the wedding day, from the bride getting ready to the ceremony to the reception (and every location change in between), think: “What shot can I take that will set the scene?”
This can be an artfully framed wide angle shot, like the inside of the empty church, or a series of close-up details aimed to show key reception points before the guests arrive. Whatever you choose, this first identifier is more about the location than the people.
Related: Album Design Do’s and Don’ts – learn more here!
Share Important Moments
The next question to yourself is: “How am I going to communicate who is here and what is happening?” Take the bride getting ready: it is key to shoot her with the bridesmaids and family to show the relationship between them and the big moments that are happening. Then, you can start moving in to tell the small, yet significant, points of the story. The mom’s hand buttoning up the dress no longer needs the mom and bride’s faces in full, because you have that establishing shot already.
In this, as in all things photography, light is key. If the initial wide-angle image utilizes the window light and no flash, the follow up should use that same light source and have the same look and feel. When you are in the moment, make sure you are thinking about similar light from location to location.
Shoot for Scenes
We should live this concept. Whenever we enter the scene, we should focus on the main shot and, once we get that, instantly think of what shots will support our main capture. That is the core premise of album design—set the stage with a main storytelling shot and then look for the images to reinforce that story on any given series of album pages.
Sounds easy, right? Well, there are a few more things to think about to aid in the album story while you are on-site shooting. You know that the middle of the album will contain all of those big WOW moments—the kiss, walking back up the aisle, the party on the dance floor, cake cutting, and parents dancing. You will also need some quiet moments to end the album. These moments help create a series of photos that tell a story for the album.
In an ideal world, you would capture that last moment in the limo with the bride and groom as they drive away, and that would correspond to the last image you see in the album. But, as we don’t often have those perfect circumstances, you have to plan for capturing those quiet moments when you can.
It is a good idea to take the opportunity between the ceremony and the reception, or even during the reception, to pull that bride and groom away from everybody and do those connection portraits. Of course, you do those portraits with the intention that you are going to place some of them in the middle of the album, but it is crucial that you set up at least one scene that will be targeted toward being at the end of the album.
Capture the Final Shot
My personal choice for the final shot is more of a pull-back shot, where the bride and groom maybe only take up twenty percent of the frame, and it just kind of sets that quiet ending. Whatever your thoughts for an ending shot may be, make sure you anticipate you will need that image for the album and capture it in your portrait time with the bride and groom.
When you set out to shoot on the wedding day with the album design always in the back of your mind, you will go back to the studio knowing you have captured all of the moments to the best of your ability. That will then make the difference between telling a story through pictures from beginning to end versus just trying to arrange images on a page. When an album is designed well, with a story told through pictures, it truly becomes an item the client cannot live without.
In addition to photos to take to enhance your storytelling abilities, find out how using proper lighting and posing can elevate your photography and wow your clients with our Pro Photographer Lighting and Posing Guide! Click the banner below to learn more advanced tips and tricks from industry leaders!


Leave a comment