
Mountain Wilderness Inspiration From ShootDotEdit Customers
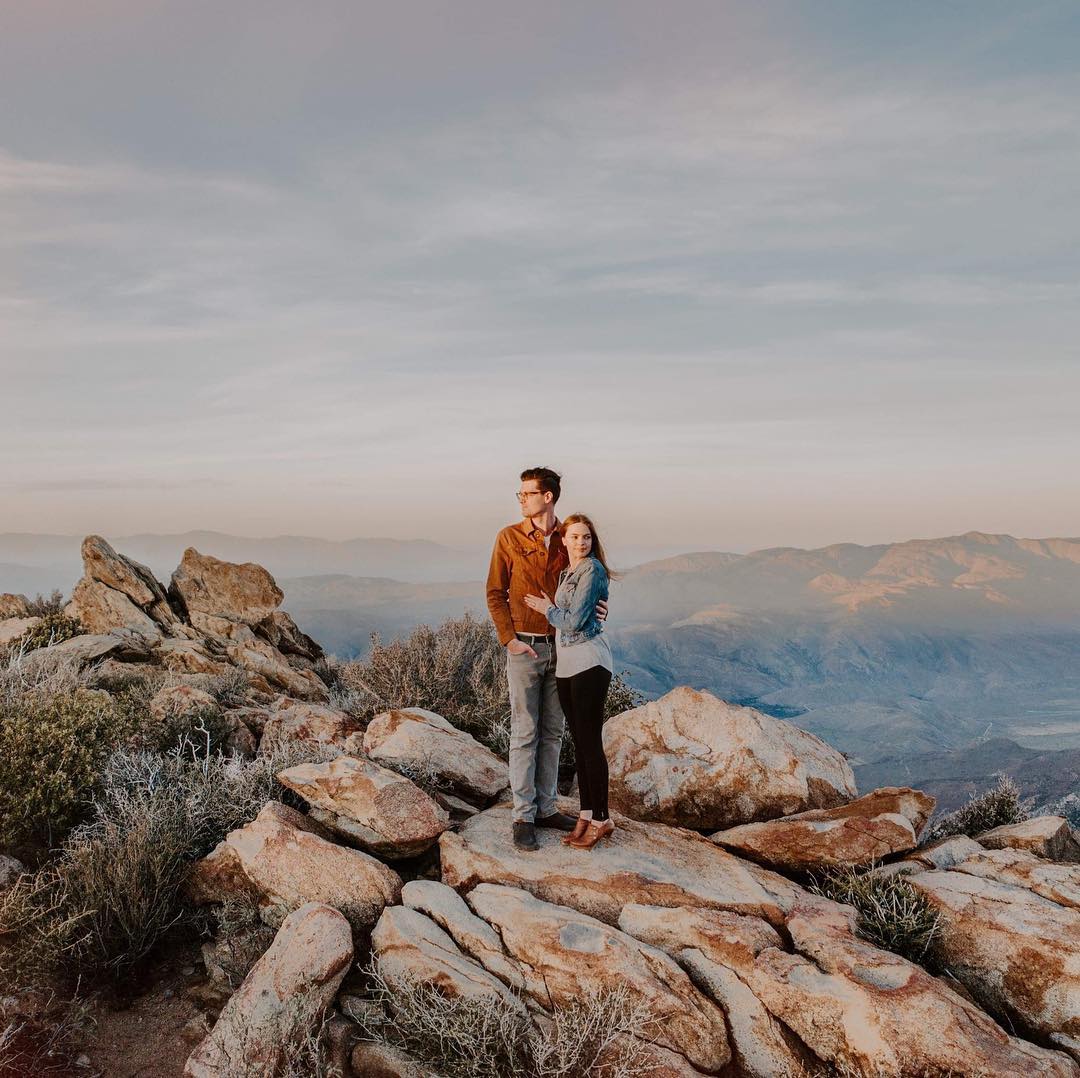
Mountains could be mysteriously awe-inspiring. And these gorgeous photographs from some ShootDotEdit customers are proof!
1. Olson Design Photography
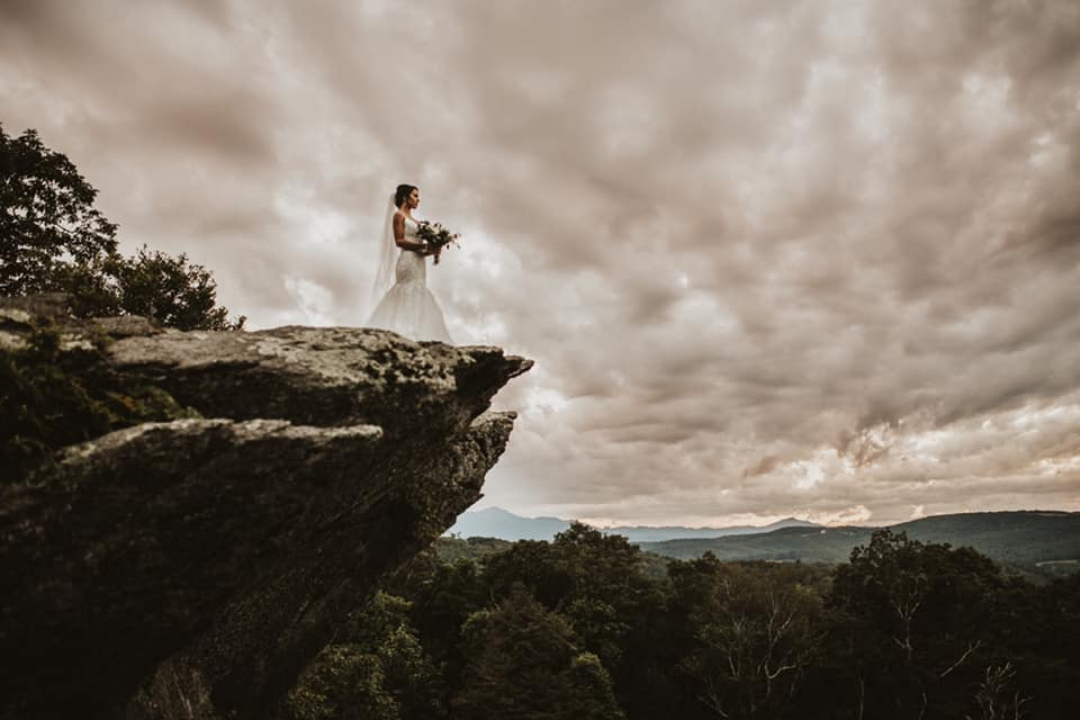
2. Breonna Wells Photography
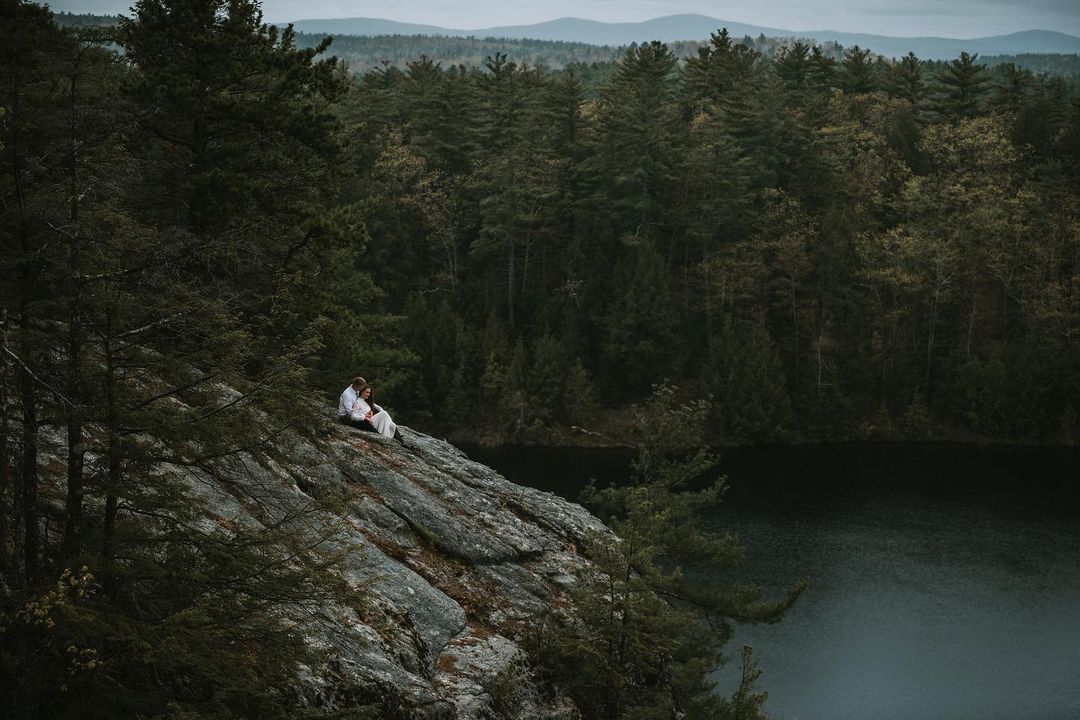
3. Trevor Hooper Photography
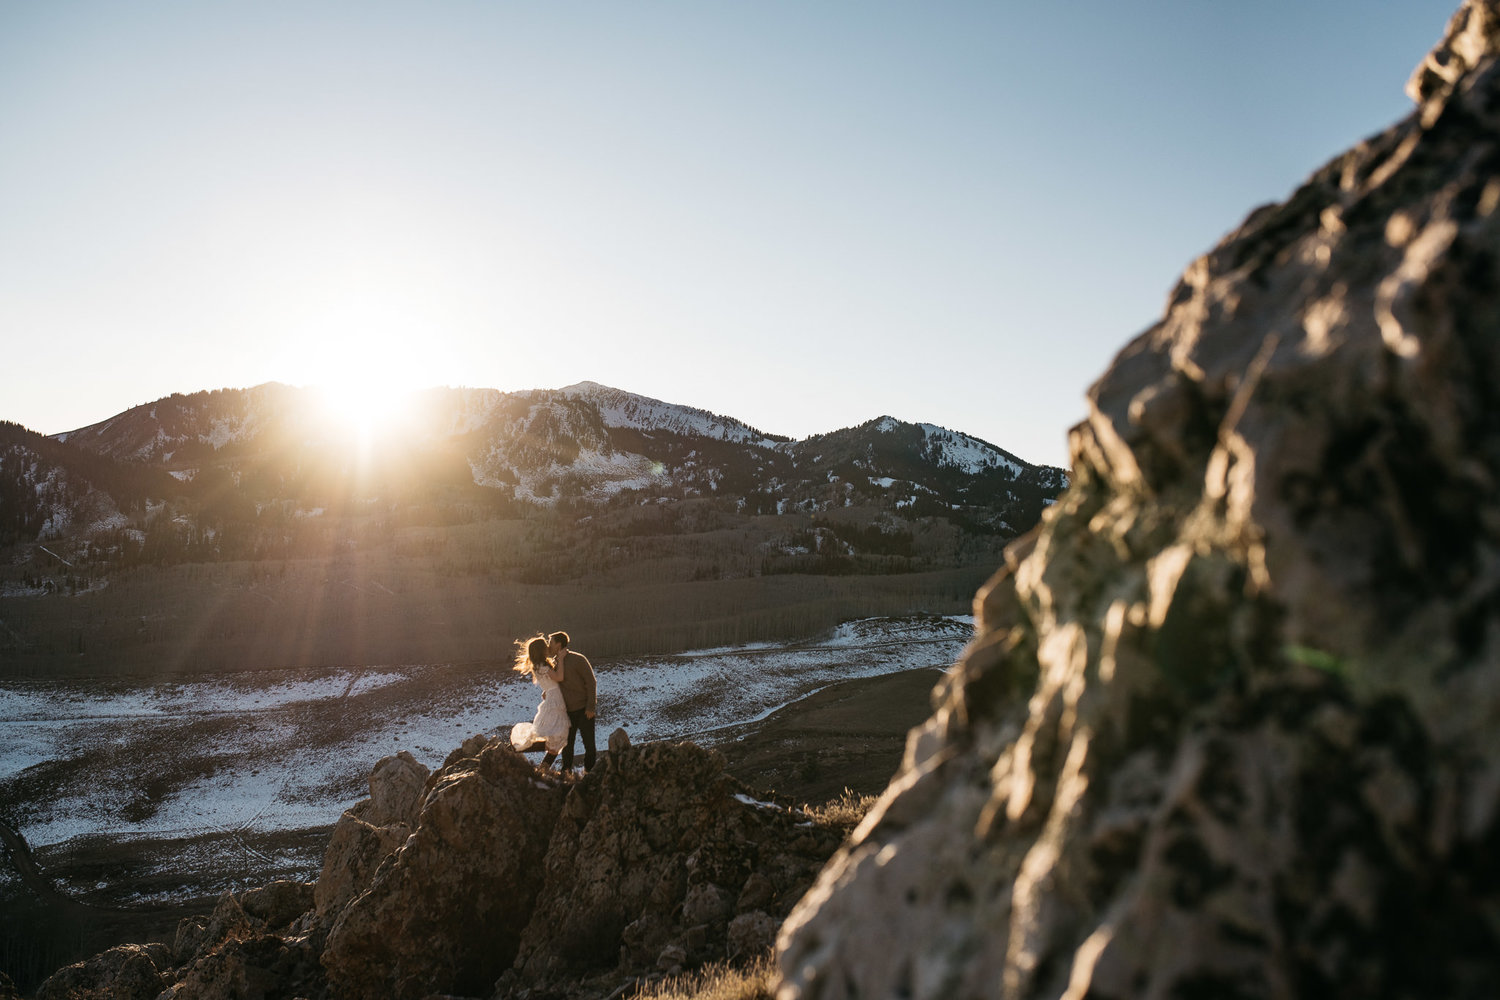
4. IQphoto
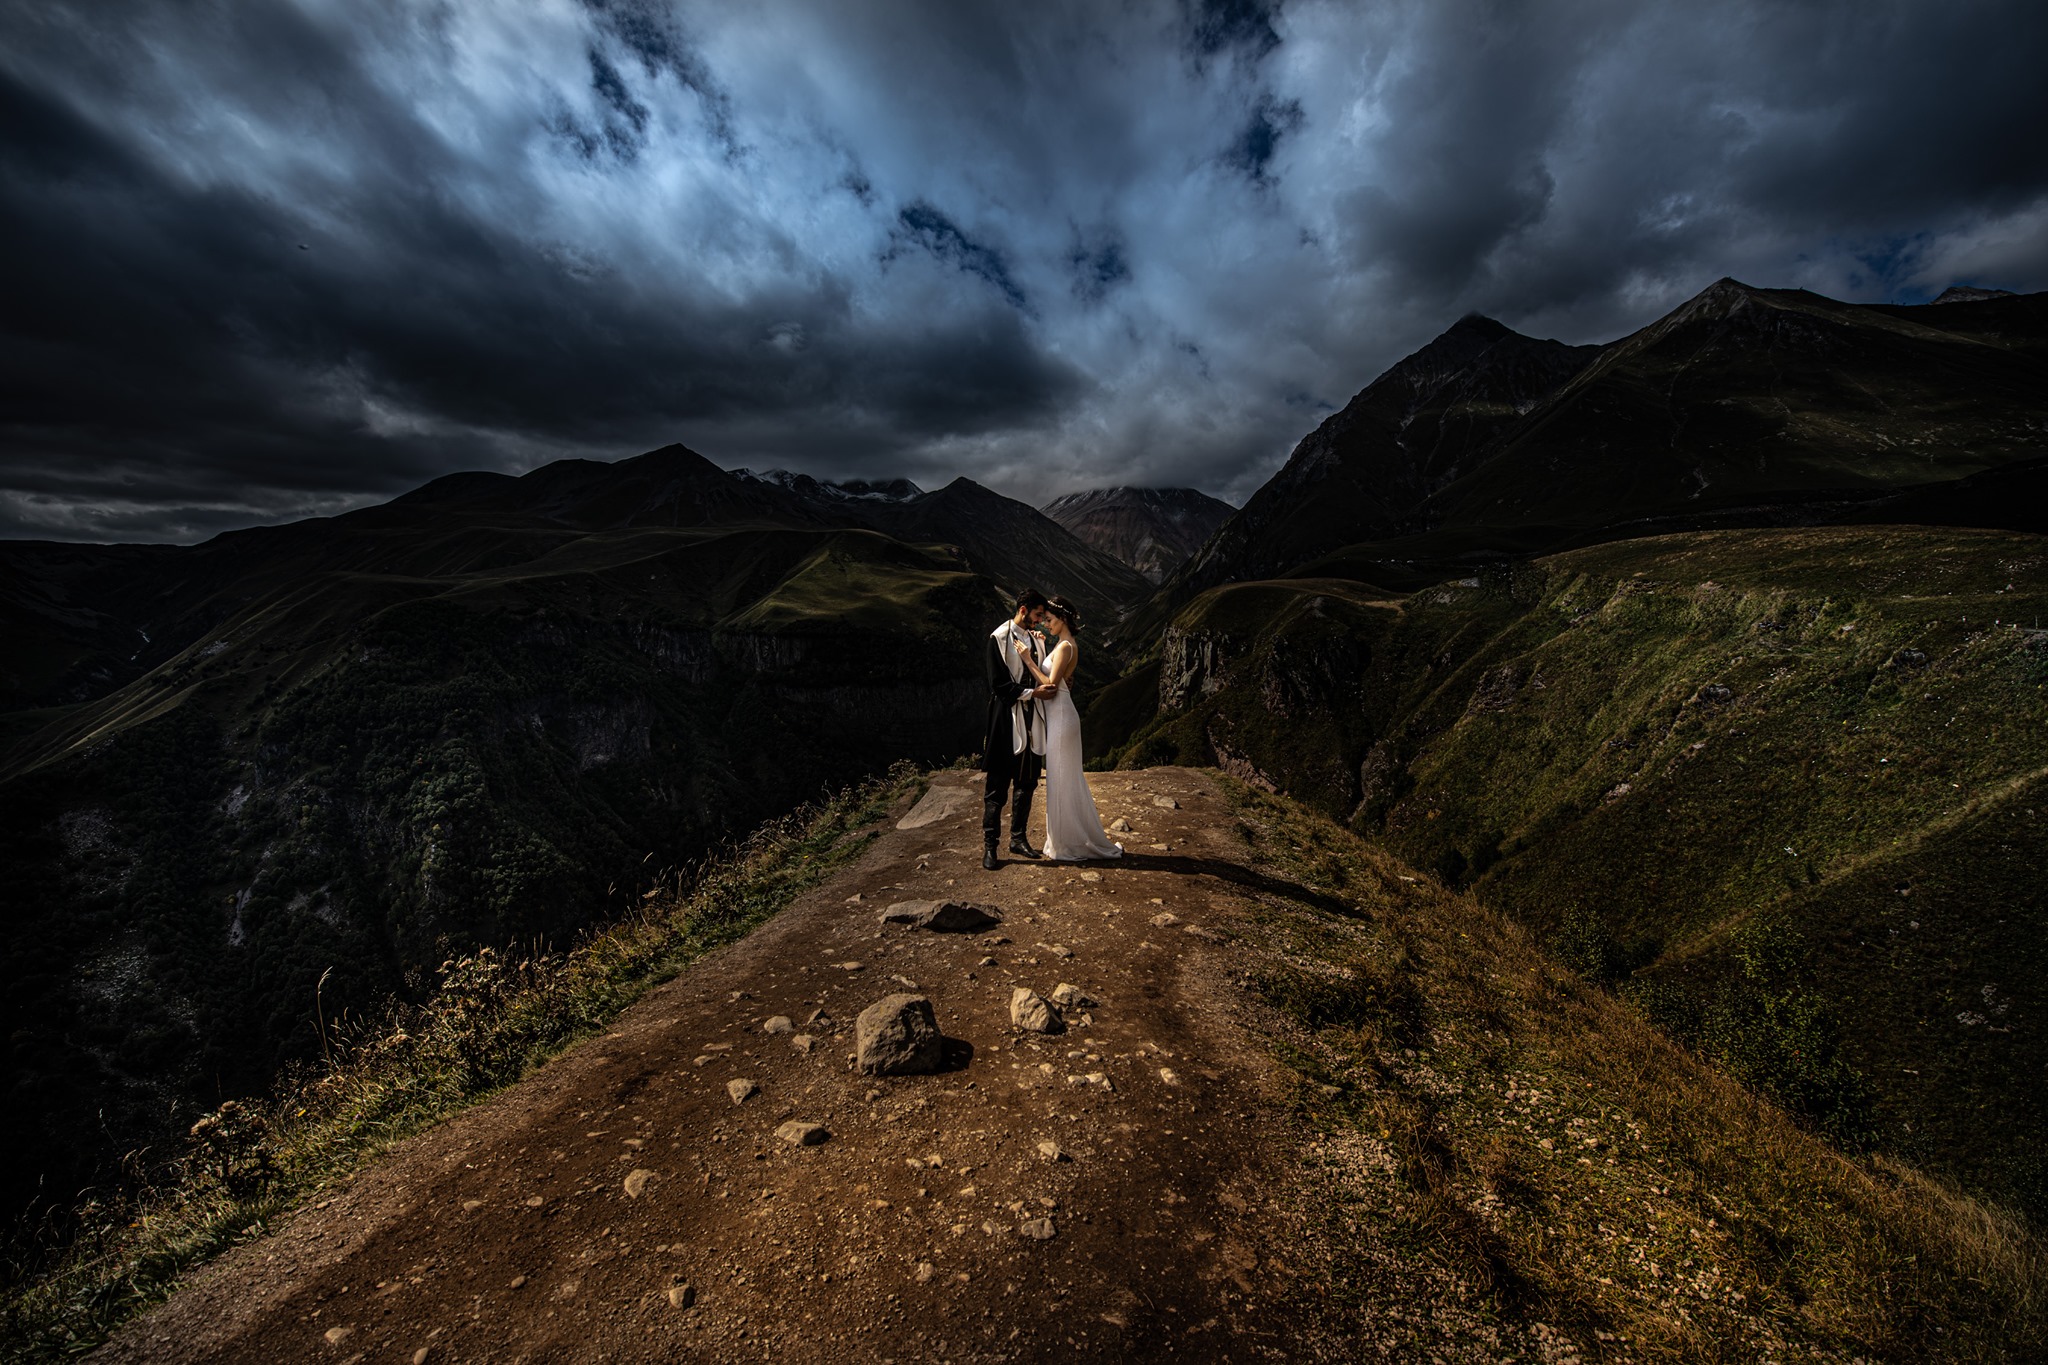
5. Lovers of Love Wedding Photography
Suggested Read: Wedding Photo Ideas: Inspiration From ShootDotEdit Customers
Mountain Wilderness Photography Tips
Now that you have gotten a glimpse of the stellar mountain photography by some of our customers, let us take you through the processes that go into creating such gorgeous images.
1. Plan Ahead
Nature works in mysterious ways. And you cannot always predict what turn the weather takes, but you can always plan and try to prepare better. Moreover, when it comes to photographing mountains, planning plays a crucial role. Because you don’t want to waste your time and energy getting from one place to another in difficult, mountainous terrain, especially in higher altitudes. Therefore, you might not always be at the right spot at the right time. To avoid losing out on time when you have lighting and weather constraints, you might want to scout your location in advance so that you have a clear idea of your shot lists and where and when to shoot them. And to help you do that, we suggest that you pay attention to the weather forecast and plan your shoot accordingly.
Related Read: The Importance Of Location Scouting In Wedding Photography
2. Understand How Light Works At High Altitude
As we just pointed out, catching the right lighting at a mountainous landscape is no mean feat. As opposed to from the sea level, in the mountains, the sunrise seems to be appearing earlier and even the sun seemingly takes longer to set. Also, when photographing the mountains, you can observe that owing to the uneven altitude, light doesn’t fall at the peaks/hilltops and the valleys/gorges in the same manner. Therefore, depending on the location where you are photographing, try to plan your timing accurately.
3. Include Foreground In Your Images
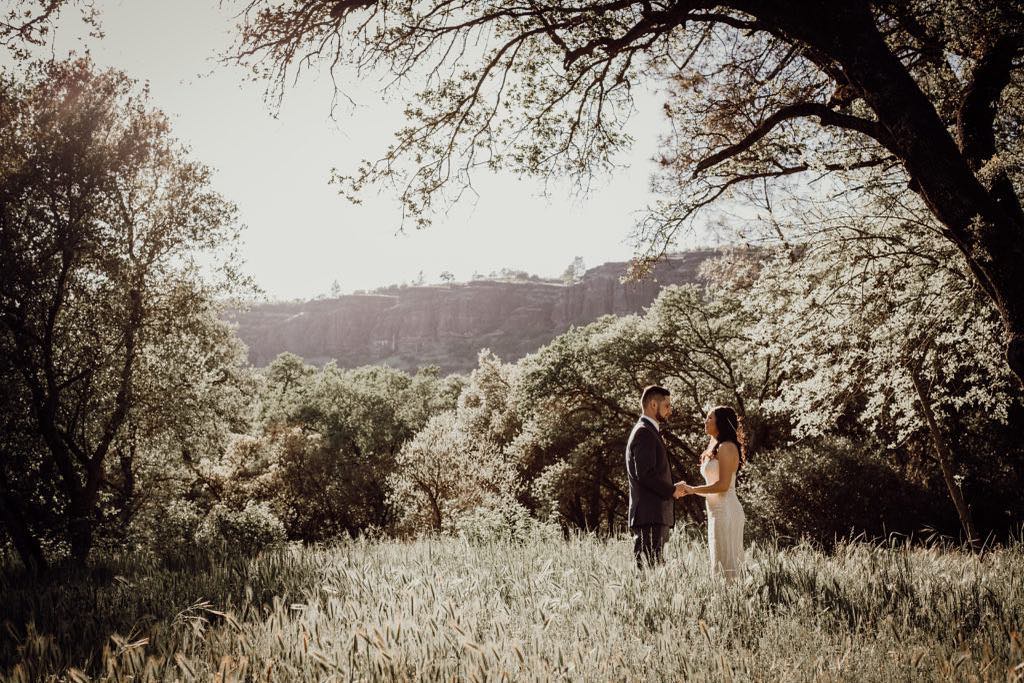
As evident by some of these mountain wilderness inspiration photographs by ShootDotEdit customers, mindfully including the foreground in your images can help make your landscape photos stand out. What’s intriguing is that while the mountain top might look the same for the most part of the year, the foreground can help you create magical images with the changing colors of the seasons (depending on how and from where you frame it).
However, your foreground doesn’t always need to be a part of your mountain photographs. Yes, you heard it right! Include the foreground only if it blends well, adds a point of interest, or adds to the overall story you are trying to tell. If it appears to be forced into the scene, leaving it out might be the ideal thing to do. Moreover, when framing any foreground elements, also keep in mind the rule of thirds.
4. Keep The Negative Space To A Minimum
Do not clutter your image with too many elements, but also try to keep the negative space to a minimum. What is negative space, you ask? It could be defined as the space between and around different subjects or elements in a scene. For example, if you are photographing a hilltop from a distance with a bright blue clear sky in the background, the space that the sky occupies can be termed as negative space. However, if in the same scenario, the sky had dramatic clouds, either during sunrise or sunset (in simpler words, another element or subject or something that adds to the scene), then that would not be perceived as negative space.
As in portraits, or during capturing people, photographers often tend to leave a breathing room around the subject (unless opting for close cropping for a strikingly dramatic effect), all the while keeping the main focus on the subject so that the defining (or the most attention-grabbing) element is the subject, not the space. The same principle is followed while photographing mountains and framing models against those mountains.
5. Experiment With Different Focal Lengths
There is no one set focal length that will work with all types of frames. Your depth of field will play a crucial role in setting the focal length you choose to photograph – whether you are taking a close-cropped image of a mountain structure or framing an entire scene with multiple foreground elements. Most commonly, photographers use wide-angle focal length to photograph mountains. This is mainly done to include as many details as possible in the scene. However, with this, framing plays an integral role. Try to frame your scene in a way so that every detail blends with each other and draws attention toward the scene or the main subject.
6. Tripod Is A Must-Have

‘Tripod is a must-have.’ And that stands true for most landscape photographers, especially, if mountains are your subject of interest. As we said before, getting optimal lighting could be a challenge in higher altitudes, which might push you to photograph at slower shutter speeds. This could further lead to possible blur or shake if your camera is handheld. Tripods, on the other hand, can help you reach new creative possibilities by helping you take sharper images. Moreover, you could even try using a remote cable release feature to further avoid that slightest shake created by pressing the shutter button.
7. Use A Polarizing Filter & Graduated Neutral Density Filter
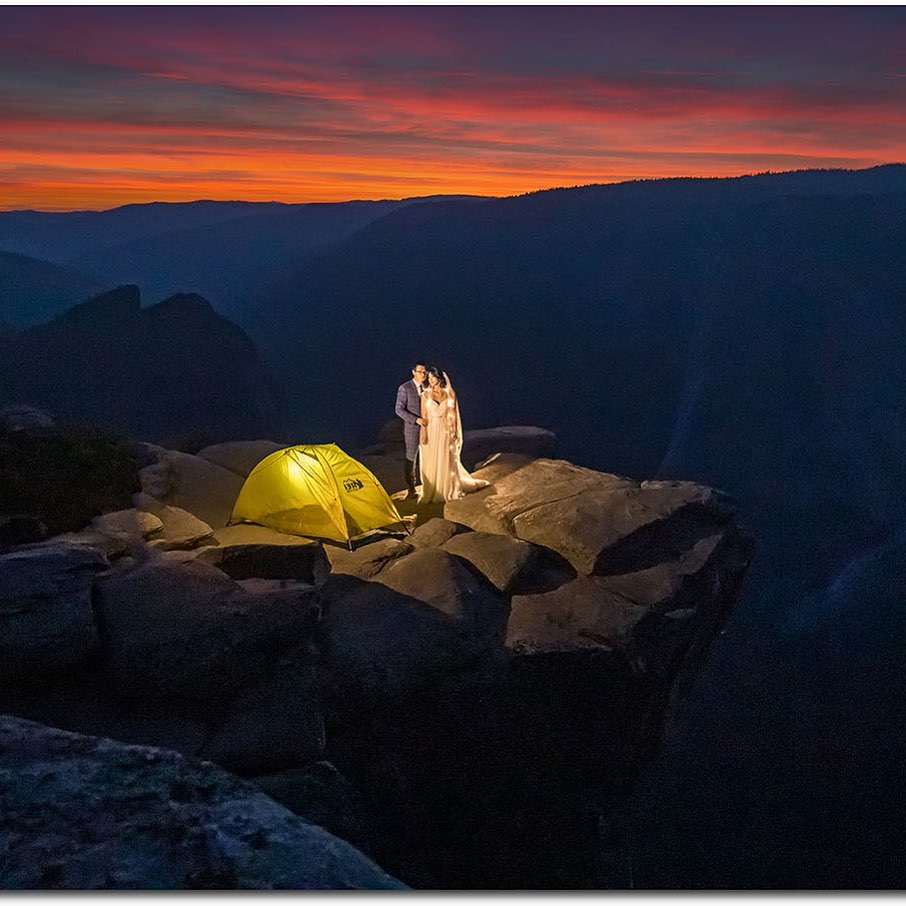
A polarizing filter or circular polarizing filter can help you create striking contrast in your landscape image. It can help you make the sky appear brighter, thus making the entire scene stand out. To make the most out of this filter, try to keep the camera at 90° from the sun. In addition to enhancing contrast, this filter can also help you steer clear of any unwanted glare or reflection in the image.
A graduated neutral density filter can be helpful when you are framing the scene with the sun in the frame. Directly photographing with the sun in your frame could sometimes divert the attention from the entire scene due to deep shadows created from direct sunlight. However, using this filter can help you neutralize that direct sunlight toward the top. Thus, helping you bring attention to the scene with more clarity and colors.
8. Dress For The Job
Even though it is listed right at the end of our mountain photography tips, in no way is it any less important. Remember the point we said about nature being unpredictable? And when you are at higher altitudes, the weather is often less forgiving when it comes to dipping temperature. So prepare well, not just your gear, but also yourself. Keep in mind that, given the terrain, you might also have to hike for a short distance. Even in the summer months, there could be a remarkable difference between the temperature at dawn or dusk and what it is during the day. So remember to carry your gloves, jacket, cap, scarf, and sunglasses with you. And most importantly, wear the right shoes. Just because the terrain can be difficult, it does not mean you have to be hard on your feet too.
Suggested Read: Wedding Photographer Dress Code: How To Dress For The Job
Think Beyond The Ordinary
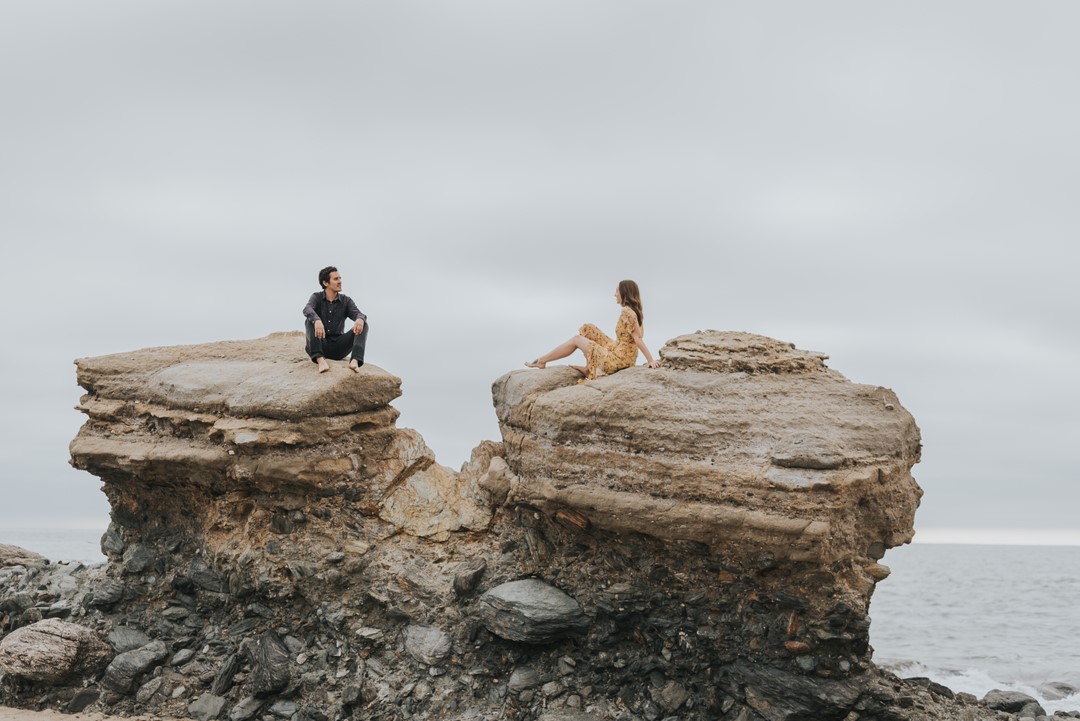
You could take into account the points we listed above for creating your own mountain wilderness inspiration photos; however, do not be afraid to experiment and put your creativity to test. The rules mentioned here could help you elevate the look and feel of your scene, but at no point are these the only way you can create a spectacular mountain wilderness photograph that inspires. Some of the most compelling mountain images are often those that make a paradigm shift and allow viewers to see that same landscape with a whole different viewpoint. So when pointing the camera toward your subject, try to think outside of the box and capture unique scenes and settings to wow your couples. We hope these tips help you enhance your mountain photography skill set and these mountain wilderness inspiration give you photo goals. What works for you when photographing the mountains? Let us know in the comments section below!
Further Read: Wide-Angle Wedding Photo Inspiration From ShootDotEdit Customers
At ShootDotEdit, we strive to help you level up your photography business. Be it by bringing resourceful tips such as these to your inbox or by taking photo editing off your post-production workflow. To learn more about how we can help your wedding photography business, check out our pricing plans.


Leave a comment