Why we Love Black and White Wedding Photographs
There is just something magical and captivating about B&W wedding photos. A black and white photo stands out for many reasons – contrast, tonality, grain, shadows, and highlights. They also stir up the viewer’s emotions, which is exactly why this style of photography will never be outdated.
1. The Focus on Emotions

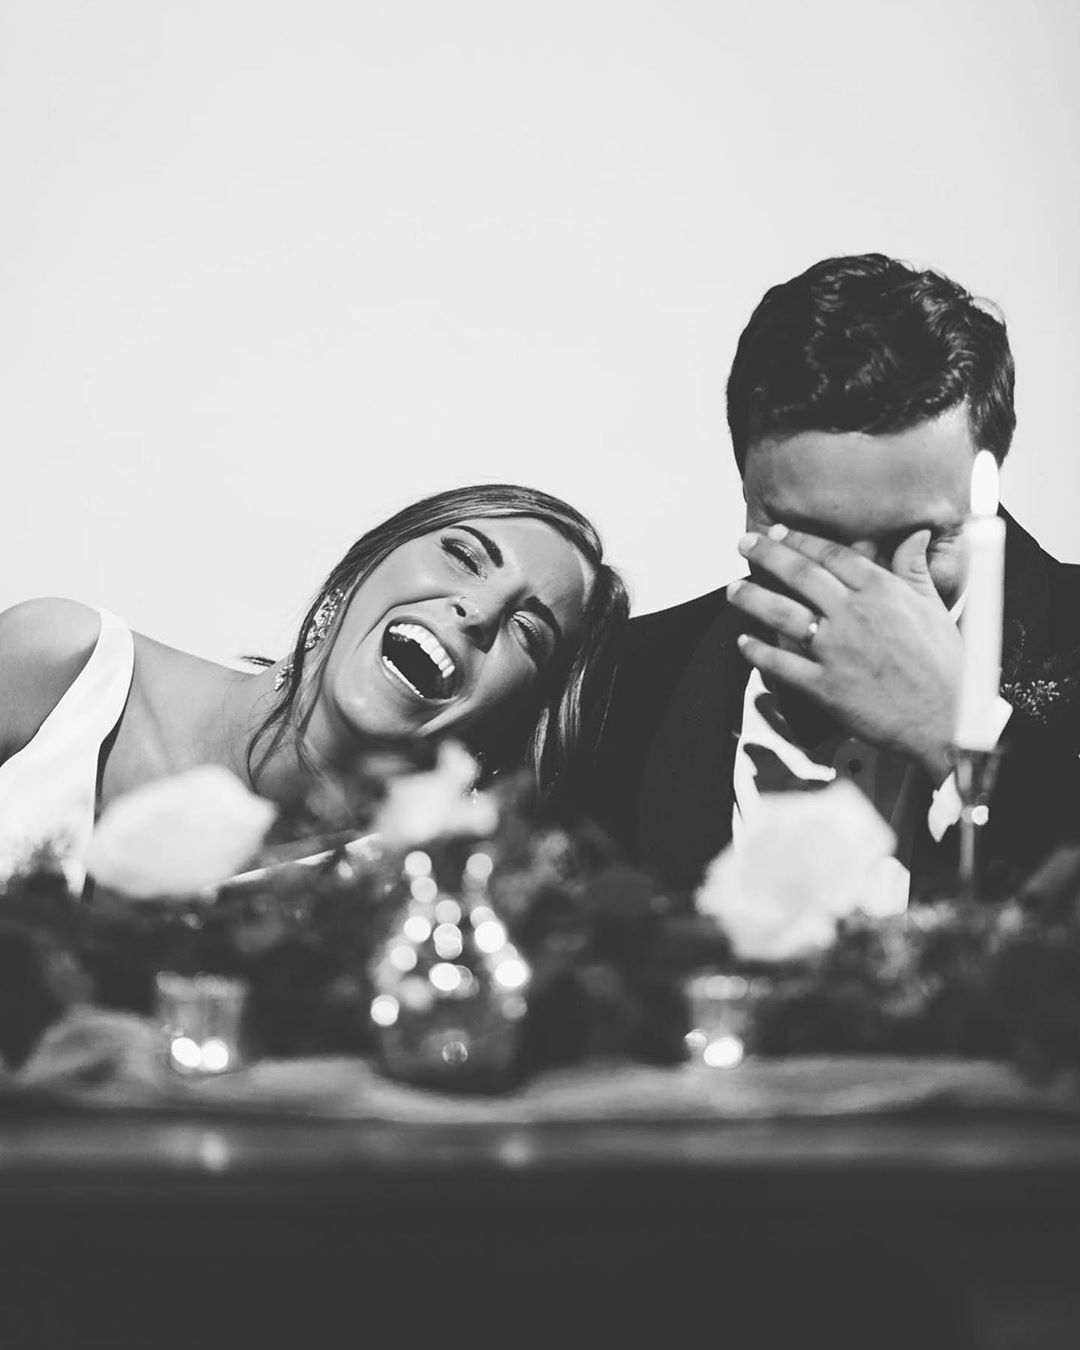
While colorful photographs make everything vibrant, black and white wedding photos shift the focus back to people’s faces and emotions. Even if you weren’t there in the moment, looking at black and white photographs almost feels like you were there when the photograph was taken. Whether it’s people laughing out loud (like in the image below) or an emotional moment between a bride and her father, black and white photographs really capture the essence of the subject.
2. The Classic Appeal

If it isn’t already, a classic bride and groom portrait should make it to your shot list, and capturing it in (or converting it to) black and white can really help it stand out. Whether you take your couple outdoors or choose an indoor location for their portraits, a black and white capture of these moments will always be a classic. Also, black and white wedding photos can sometimes have that vintage photo vibe, so it’s a great addition to the mix, especially if your couple loves that style!
3. Black and White Images Tell a Different Story

It’s not just the bride and groom who look great in black and white! Several moments from the wedding could be captured in or converted to black and white, and they’d tell a different story. And that’s the beauty of black and white wedding photos! Whether you capture a candid moment or pose them with the bride and groom, even black and white photos of the guests and the bridal party will come out looking great.
4. The Drama

We love it when photographs keep us glued to them for a long time. And because black and white photos somehow always look more dramatic, it follows suit that we love them for that reason. The drama of black and white wedding photos shows up more when cloudy skies form the background in your images, or your photos include the crazy weather rolling in across landscapes or in grand shots that also include some form of architecture.
Suggested Read: Wedding Photo Ideas: Inspiration From ShootDotEdit Customers
Quick Tips for Creating Black and White Photos During Post-Production

Some wedding photographers prefer to shoot in black and white directly, whereas others prefer to convert to black and white during post-production. The latter enables you to have complete control over the tone, highlights, shadows, and contrast in your image. Once you start practicing, converting color photos to black and white using photo editing softwares like Photoshop and Lightroom is a simple process.
While trying to make your black and white images look natural, you have to be extra careful about two things: Texture and contrast. The Desaturate command in Photoshop and the Convert to Black and White tool in Lightroom are quick and easy methods to make your color photos black and white, but these are just starting points. If you are looking to make more adjustments, here’s how you can go about it.
Editing in Photoshop
1. Desaturate Your Photo
One of the simplest ways to convert your images to black and white in Photoshop is by desaturating them. This method is quick, but it is destructive, which means that it changes your original file. We suggest that you work on a duplicate layer in case you end up making any mistakes. Right-click on the background layer and select Duplicate Layer. Then drag your background layer to the + sign in the Layers panel. Use the keyboard shortcut Ctrl or Command+J. To convert your layer to black and white, go to the Image drop-down menu. Select Image > Adjustments > Desaturate.
2. Grayscale Mode

Another way to remove the color from your photos is by creating a grayscale image. Go to the Image drop-down menu. Select Image > Mode > Grayscale. Adding a Black and White adjustment layer is a non-destructive way to convert your photo to monochrome during post-production. Go to the Layer drop-down menu. Select Layer > New Adjustment Layer > Black and White.
Editing in Lightroom
1. Set Treatment to B&W in Basic Panel
Start by giving a neutral color balance to your image by setting Saturation and Vibrance to zero and adjusting the White Balance sliders. The next step is to refine the conversion using the Tone sliders. Remember that you want your photographs to look natural, so be careful not to go overboard with any of the adjustments you make during post-production editing. Alternatively, you could also use a black and white preset and then customize the black and white treatment.
After you have converted your files to black and white using any of the above tips, the real work begins! Play with contrast, enhance shadows and highlights in Photoshop or Lightroom. Change the clarity of (or sharpen) the image for more drama, and get really specific by adjusting the color channels.
Further Read: Black and White Images That Will Inspire You
At ShootDotEdit, we want you to be who you want to be! And we help you do that by lessening your post-production workload and doing the editing for you. To learn more about how we can help your wedding photography business, check out our price plans.


Leave a comment